Adding Images
Adding Images
Adding Images
Add your images to the system first!
You must upload images using the Image asset factory befor adding it to your page. Once you have uploaded your image, edit your page to add the image where you want it.
Adding your image(s) to Cascade CMS
- Start by choosing "Image" in either the New Content dropdown or the New Content widget.
- Choose the directory or folder where you want your image to live.
- Either drag your image(s) into the box or click browse to find them on your hard drive. (Cascade may complain at this point that your image needs a name, but you can ignore it and just go on to find your image).
- IF YOU ONLY ARE UPLOADING A SINGLE image, you may edit your image at this point if you want, but you can come back later to do it if you'd like.
- Click "Save & Preview" then be sure to submit the image.
Adding your image to your page
These are instructions for adding images to your text content. We have other instructions if you want to add an image gallery to your page or for adding banner images.
Inserting the image into your pages text content is easy, but making it look nice is slightly more complicated. We'll take these two steps separately
Insert your image
In the WYSIWYG editor:
- Put your cursor in front of the paragraph where you want the picture
- Choose "Insert" and "Image" from the menu or the image icon from the toolbar
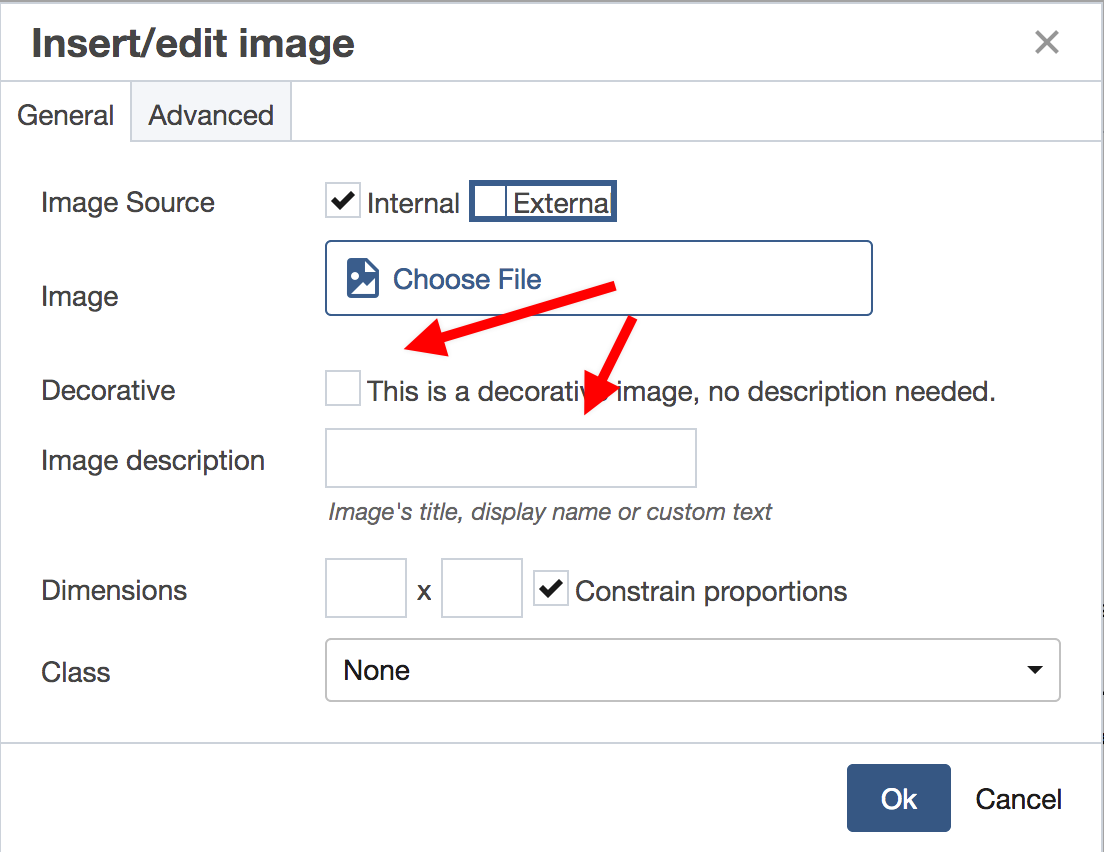
- Click "Choose File" and browse to the image you uploaded into the Cascade CMS.
If your image contains text of any kind or is necessary to understand the page content, be sure to add a short description for visitors using screen readers. This will help you meet federal compliance regulations for your web page. If the image is clearly nothing more than decoration or a place holder, you can choose the check box to skip the description.
Format your image in the page
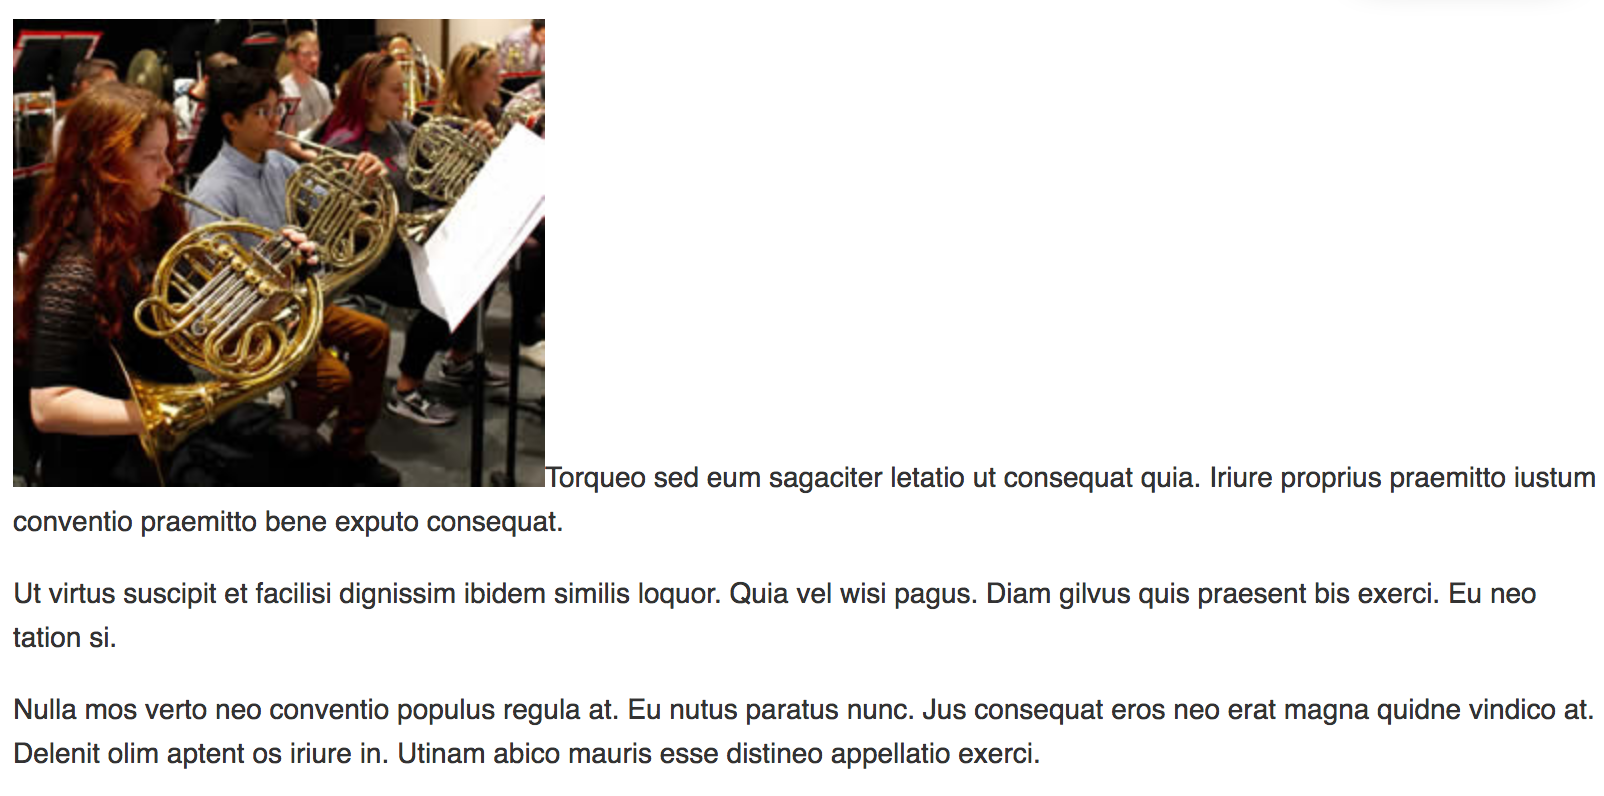
If you save and preview it now, you will see that your image breaks up and crowds your text.
To change the way your picture relates to the text around it, you can
- make small adjustments to the size of the picture
- adjust the space between it and the text and
- align it left or right.
Make small size adjustments
You should have scaled down very large images by editing your image, but if you need to make some fine adjustments you can do that after inserting your image.
In editing view you can click on the image then grab a corner and drag to make it larger or smaller. If you notice that the picture becomes distorted, und your action, right click on the image, choose "image" and then make sure that the "Constrain proportions" box is checked (see below).
Or, in editing view, you can right click on the image and choose "Image." The image insert box will open again so you can make adjustments. Change the width in the first "Dimensions" box and make sure that the "Constrain proportions" check box is checked. The height of the image will adjust on its own to keep the image from distorting.
To add space between your image and the text.
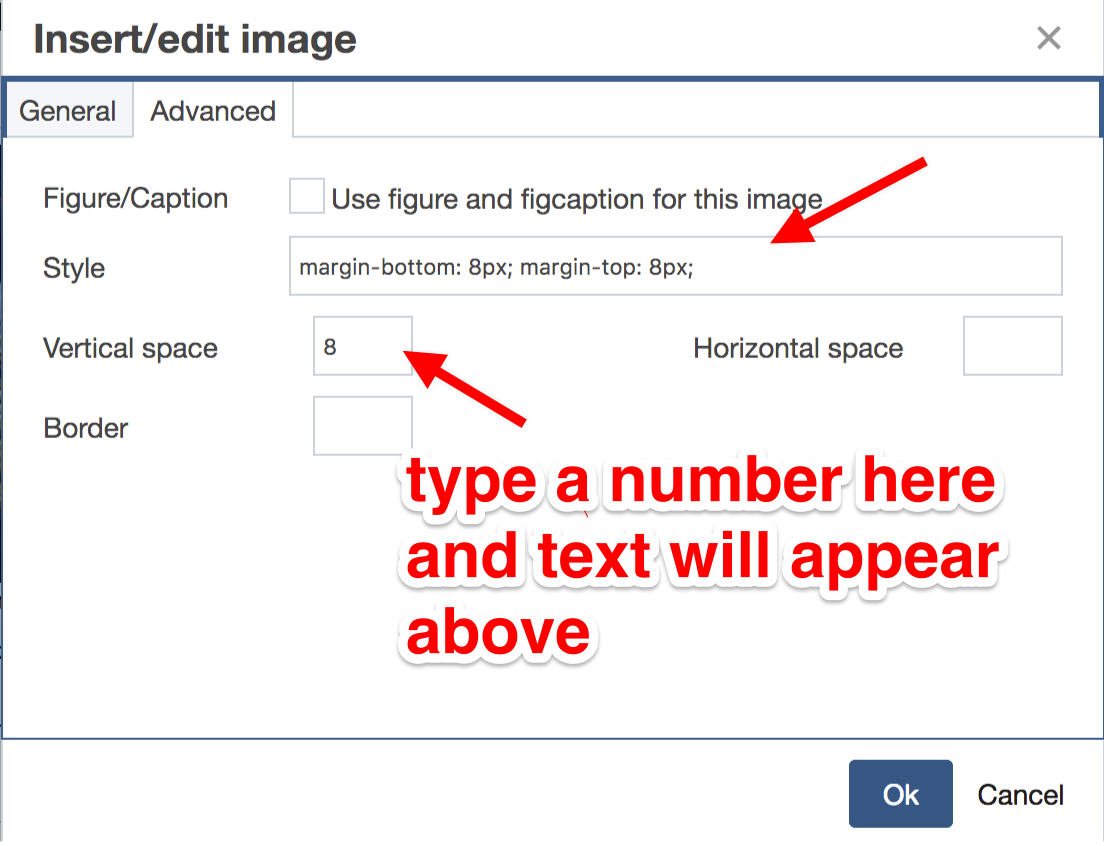
- In editing view, you can right click on the image and choose "Image."
- Click the "Advanced" tab at the top of the box
- To add space between text and image type "8" in the box for "Vertical space" and/or "Horizontal space." (You can adjust that number up or down, but 8 is usually a good place to start.)
You will notice that text has been added into the "Style" box for you.
Align your image
Select your image and use the paragraph alignment tools to float the image right or left.
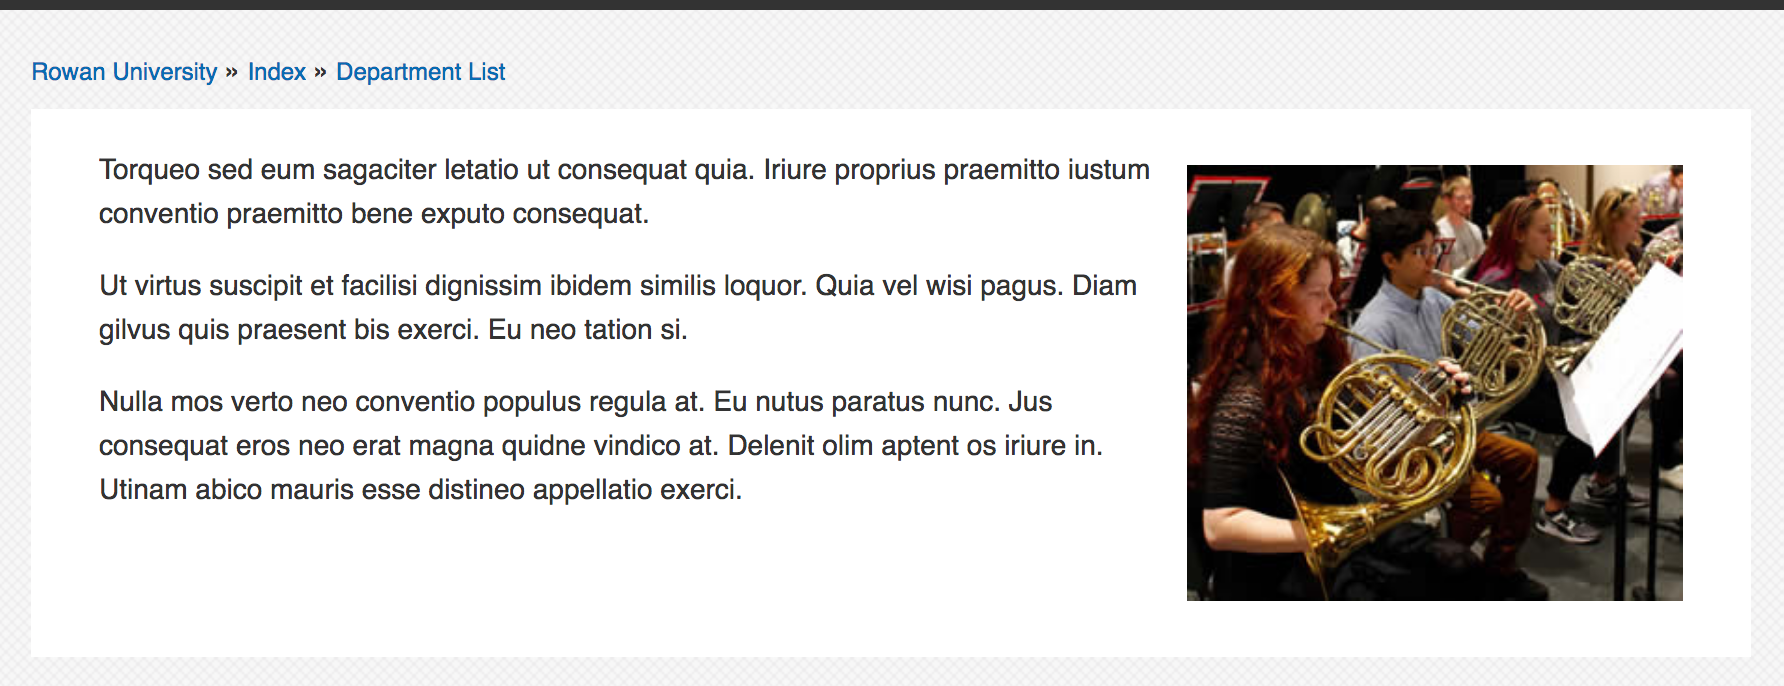
And the resulting page with the image floated right and with space added around it:
As always, save and submit your edited page when all looks right to you.