Logging In
Logging In
First, to log into Cascade CMS server
Go to https://cascade.rowan.edu/login.act
Enter your Rowan Credentials (Username and Password).
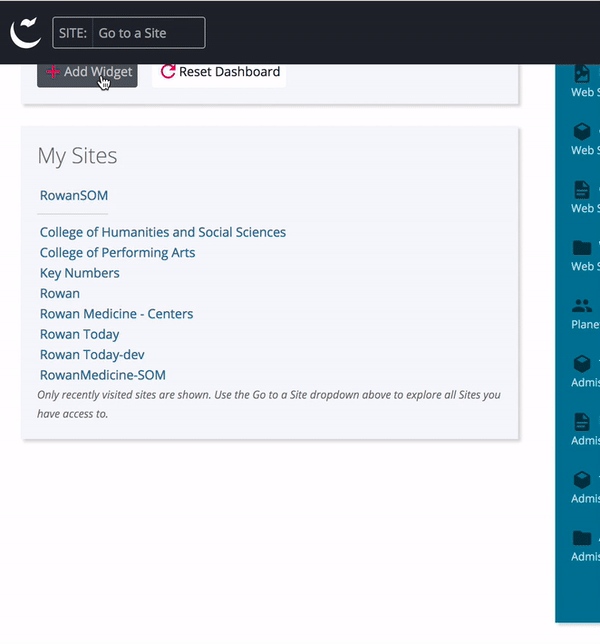
Then find your site
Up at the top of the page you will see the stylized "c" ![]() , click on the box next to that and click the name of your web site. (See #1 on the screenshot below).
, click on the box next to that and click the name of your web site. (See #1 on the screenshot below).
What else you see first (The Dashboard)
Note: Any time you want to get back to your Dashboard, you just need to click the ![]() in the upper left hand corner. It will always be there.
in the upper left hand corner. It will always be there.
- The Dashboard it as a one-stop place for the creation and management of your content.
- You can customize your own dashboard using movable "Widgets" meant to help you find the things you use the most.
- While most of the dashboard will reflect your personal needs and wants, there are some items on your dashboard that will always be present.
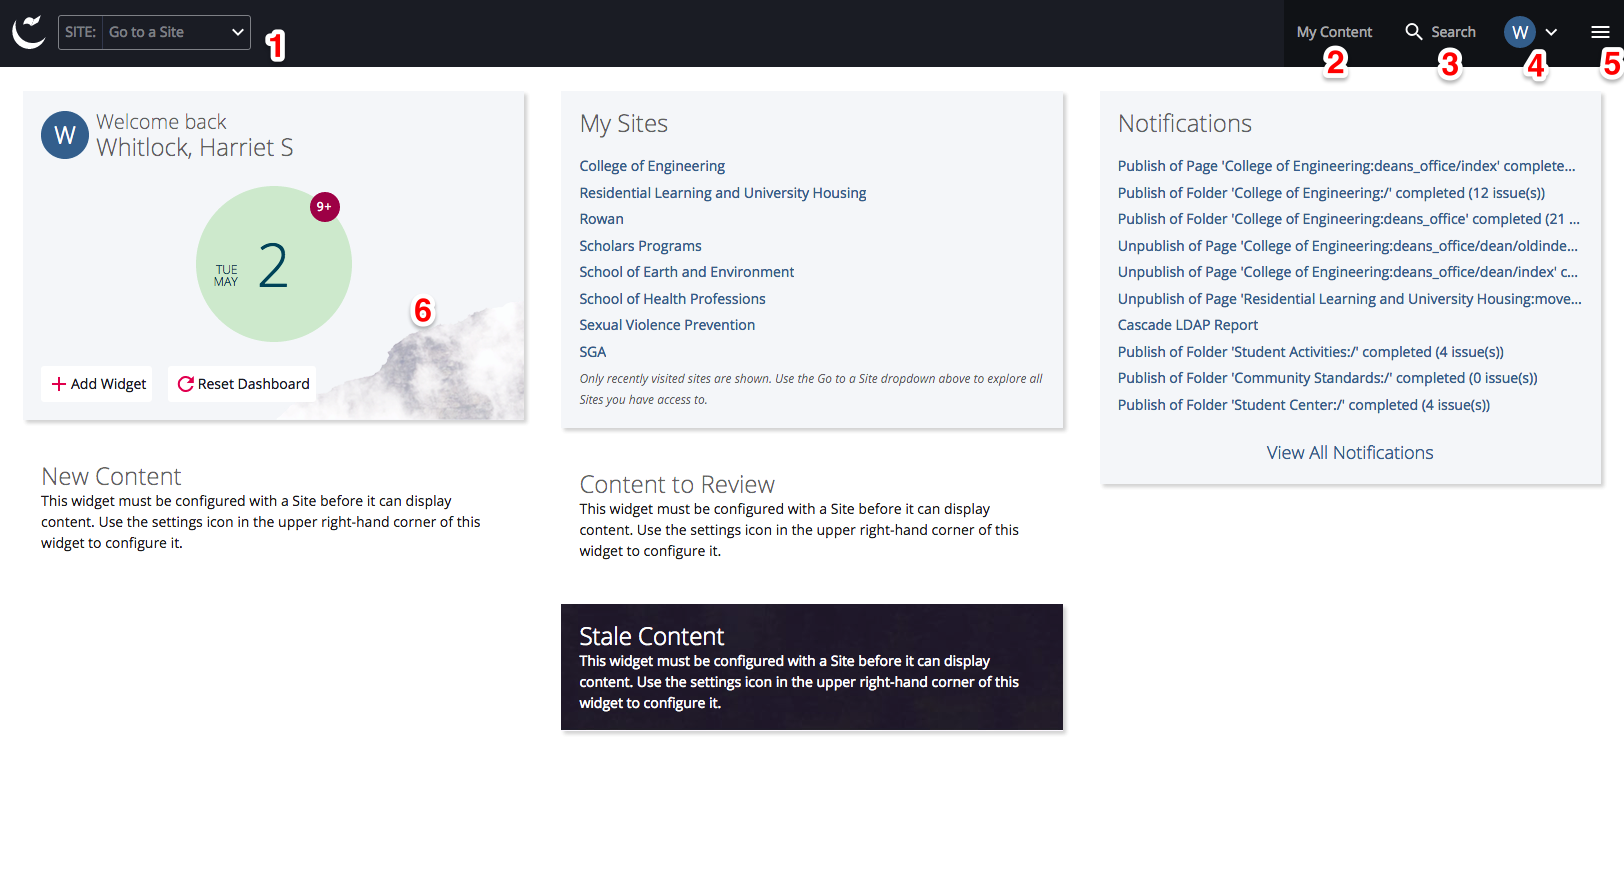
- Site Dropdown
Here you will find all the "sites" you are able to edit. - My Content
This area offers quick lists of all your recently edited content, owned content, drafts, locked files and assigned tasks GO HERE IF YOU CAN'T FIND SOMETHING YOU WERE WORKING ON! - Search box
Search for anything on the Cascade CMS. ALSO if you drop your cursor here you will get a list of recent assets you've opened in Cascade so it serves as a quick history list for you. - Account Profile
Click on this to find your personal settings. From here you can customize your profile photo, view any notifications Cascade has sent to you, check on a history of changes you have made and log out of the system. - Menu Icon
Click on this to expose links to reports, tasks and support information. - Account information Widget
This is the one fixed widget. From here you add other widgets to customize your dashboard.
Extra Information
Dashboard in mobile and tablet view
Even these "fixed" items can shift depending on how you are viewing the site. In tablet view, the top menu items will condense and the "My Content" link will fall under the menu icon. In mobile view, the menu icon will shift to the left hand corner of your screen.
While some of the items under my menu icons may differ from yours, the behavior of the fixed items should mirror what you see.
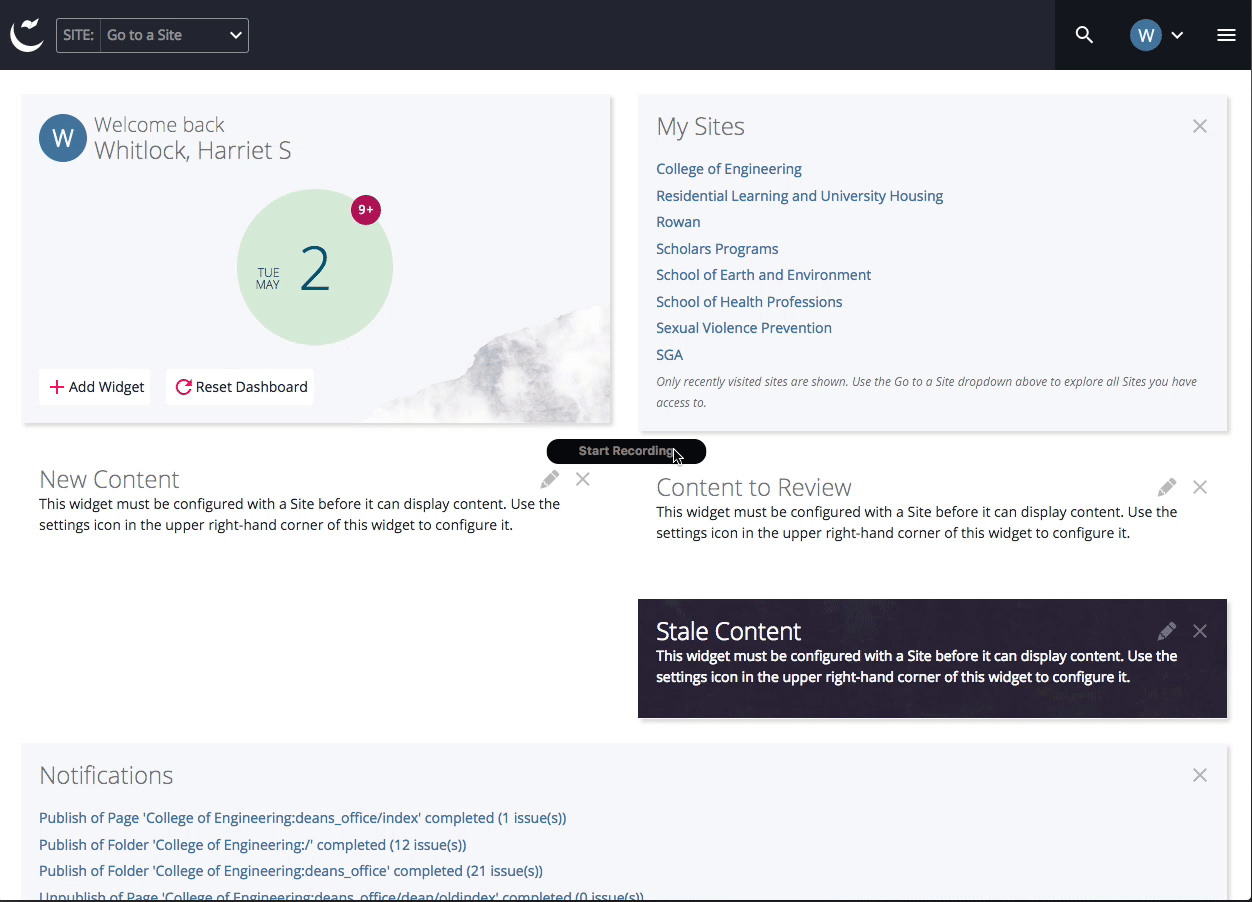
How to configure a widget
Some widgets are specific to a web site. These you will need to configure after you add them. Once the widget has loaded, you will see a dropdown list. Simply choose the site you want to track with the widget and click the save settings button (see animation below).
If you want to change the configuration in the future, click the pencil icon and choose a new web site.