Sample Prototype
Sample Prototype
Sample Prototype
The purpose of the prototype is to demonstrate an example for students to replicate. Although, the dimensions of their paddles and length of arm may be modified depending on the depth of water provided. Instructors should have a sample prototype to present students during their construction phase. The fabrication processes are consisely demonstrated in the instructions handouts provided. The purpose of demonstrating the fabrication process is to provide insight as to the design decisions made to produce this model.
Components
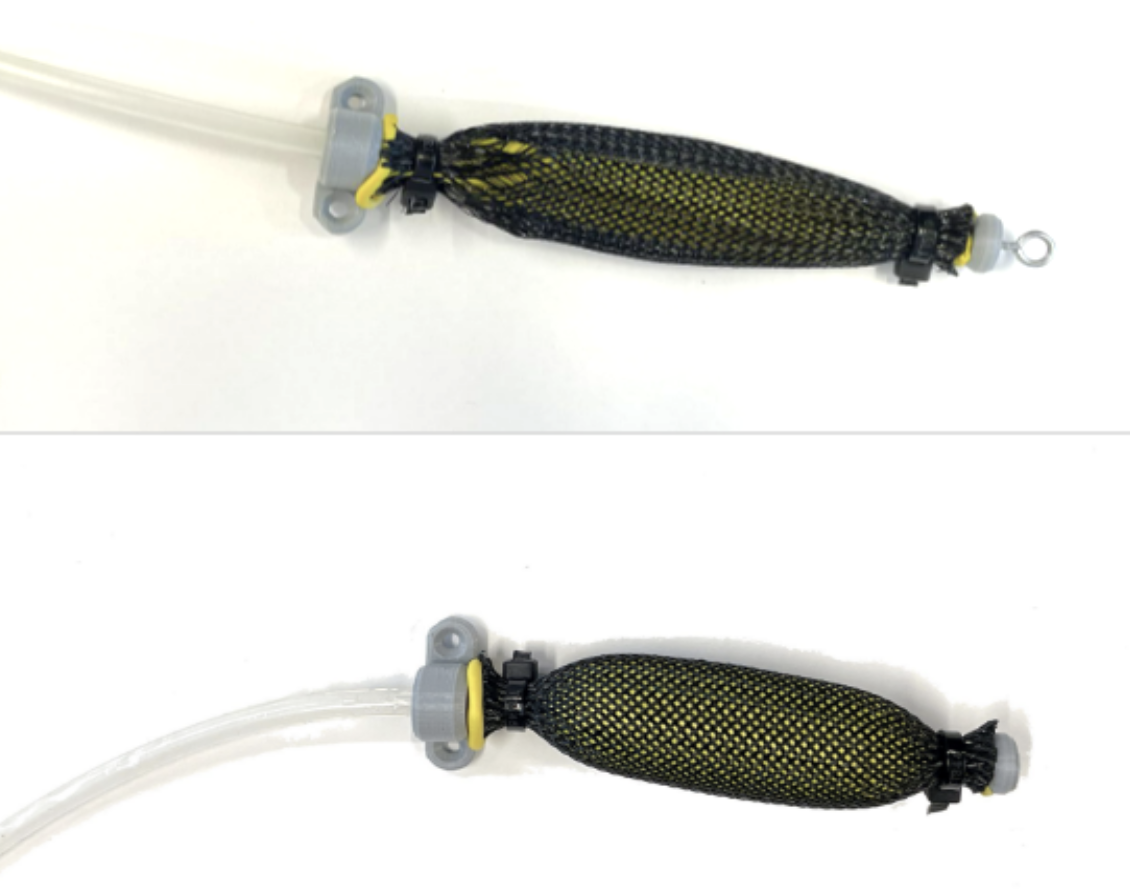
McKibben Muscle
The McKibben muscle produced follows similarly to the developers design produced in this paper [1] with a few modifications. 3D printed stopper and muscle connectors were produced in order to improve air leakage and avoid the use of hot glue. The connectors have been made with screw holes to allow them to be secured to the base of the boat. Additionally, an eye screw hole was made at the top of the stopper connector to for #0 eye-screw to allow the stopper to attached to the wire paddle.
Foam Paddle
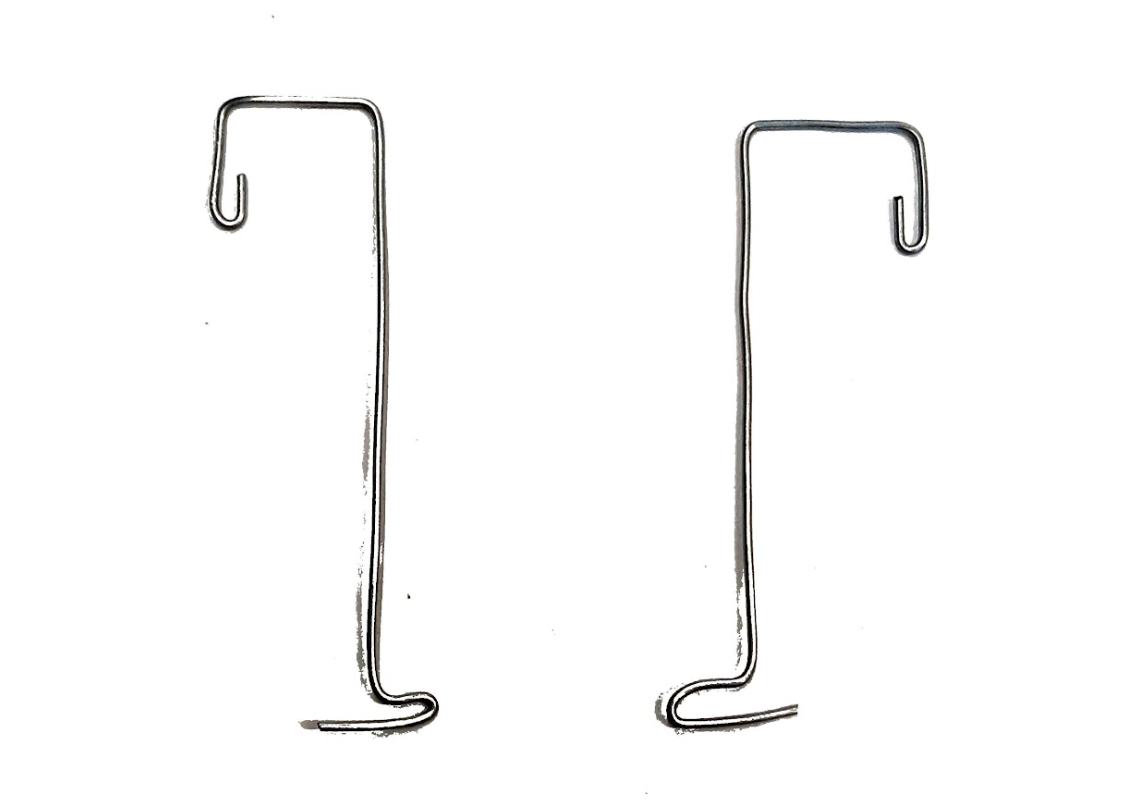
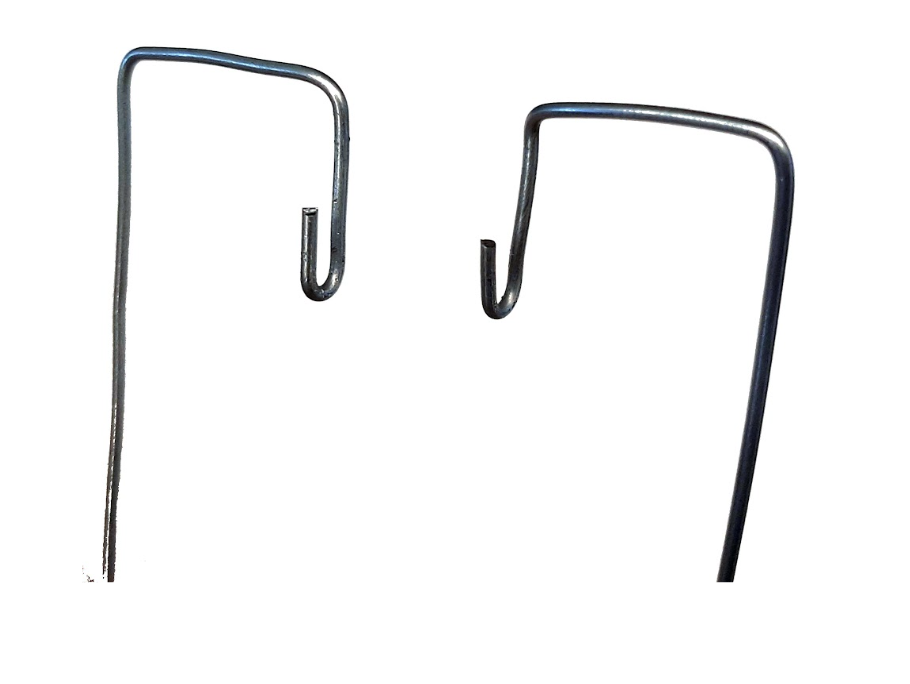
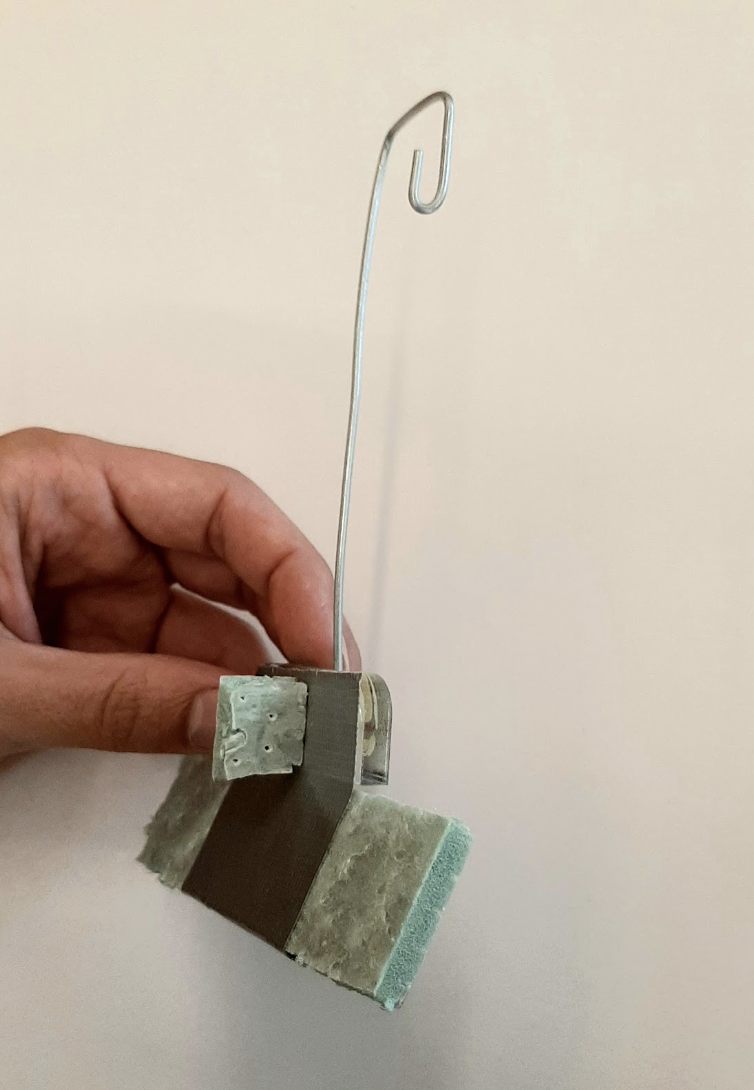
The foam paddle is composed of mainly 2 parts - the acrylic-wire piece and the foam piece. The wire is bent prior to the work-shop by the developers as younger students may have difficulty bending it precisely and could result in poor performance. A piece of 9" wire is first bent according the diagram presented on the left and then the ends of the hooks are bent 90degrees facing forward like the image on the right.
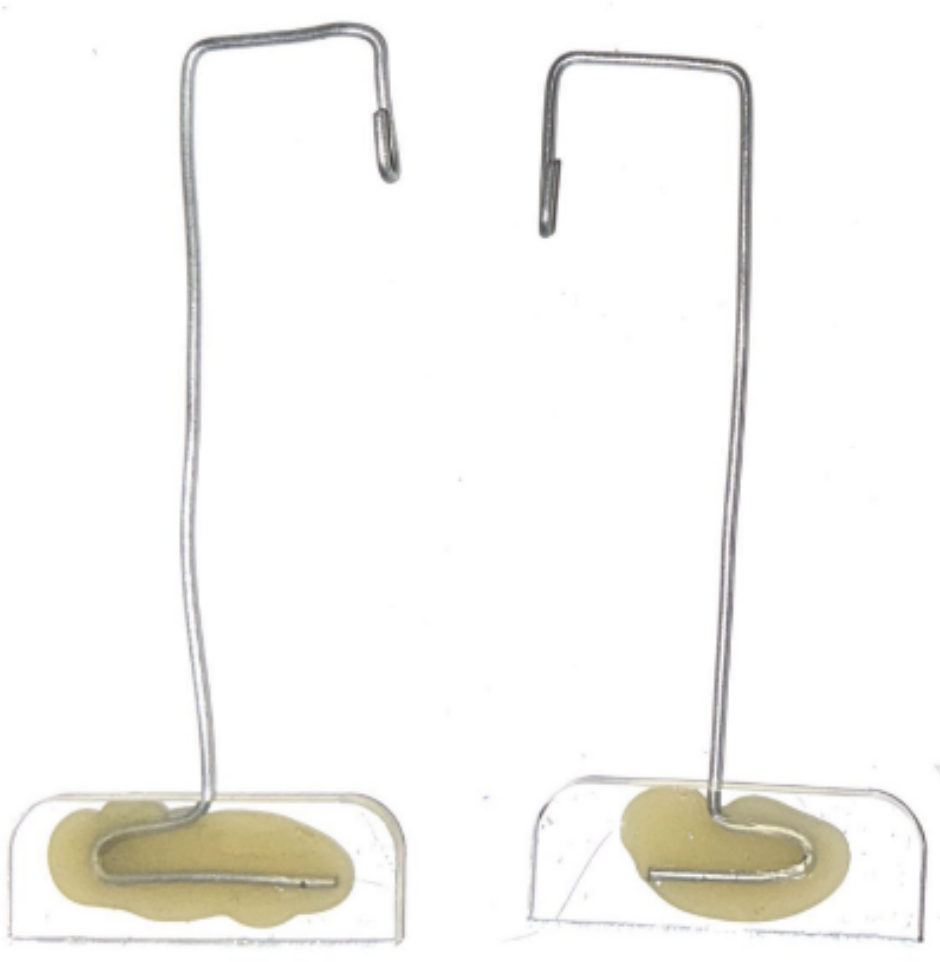
The wire pieces are then hot glued to a small cut-out piece of acrylic as shown in the image below. The acrylic piece acts as an place for attachment of the foam paddle part. The dimensions of the acylic piece are ~2"x1" with a straight edge to ensure the duct tape hinge folds properly. The pieces wire and acylic piece were glued prior to the work-shop to save time and ensure proper assembly.
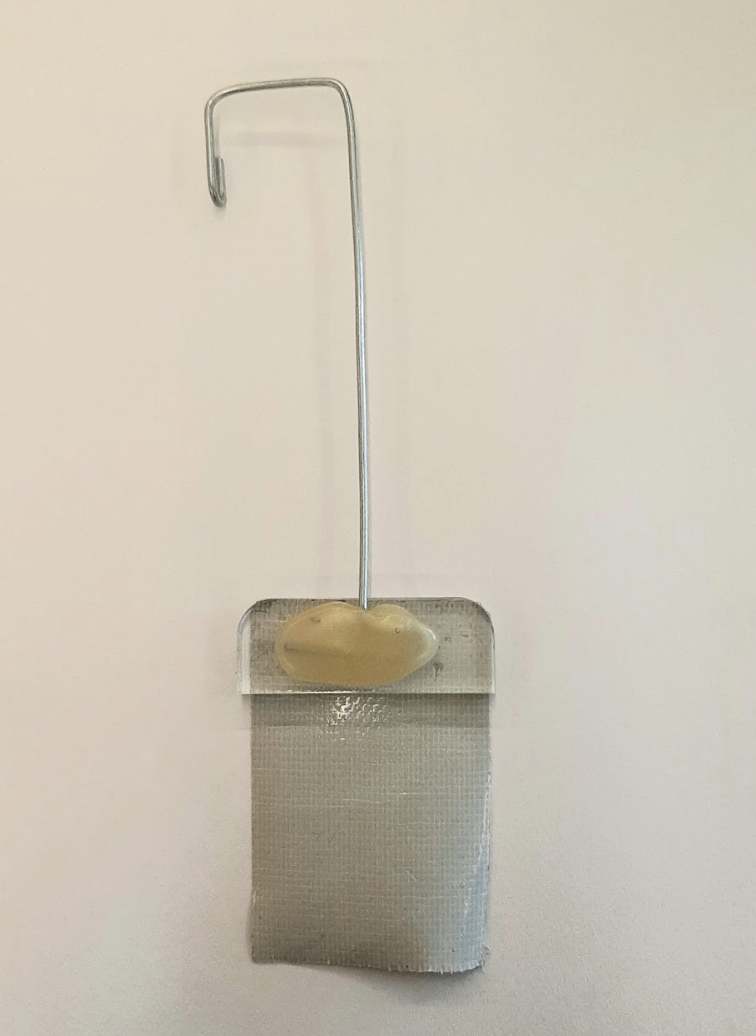
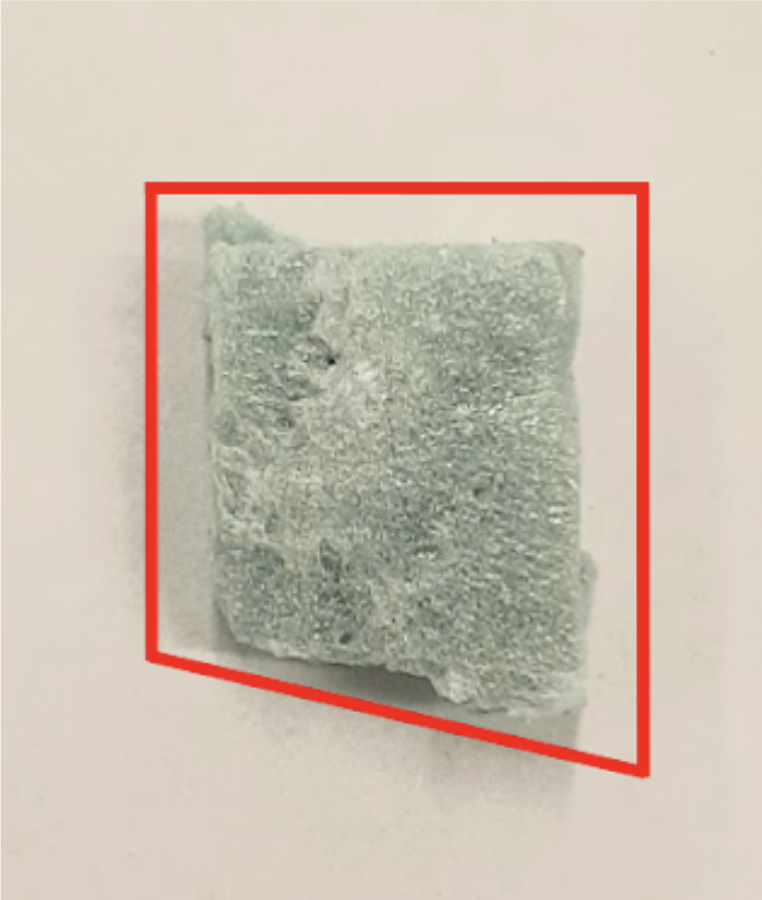
The foam piece is cut from 1/4" insulation foam. Each foam piece must be under ~7in^2 to ensure the boat does not capsize but that dimension is dependent on the size and weight of the hull produced. For the activity, it was left up to the students participating to determine what shape to make the foam pieces. This piece is then ducttaped to the acrylic piece in order to create the hinge.
*Note: It is not shown here but wraping the foam paddle piece with duct tape prior to attaching it to the acrylic paddle will prevent ducttape from losing adhesion in the water.
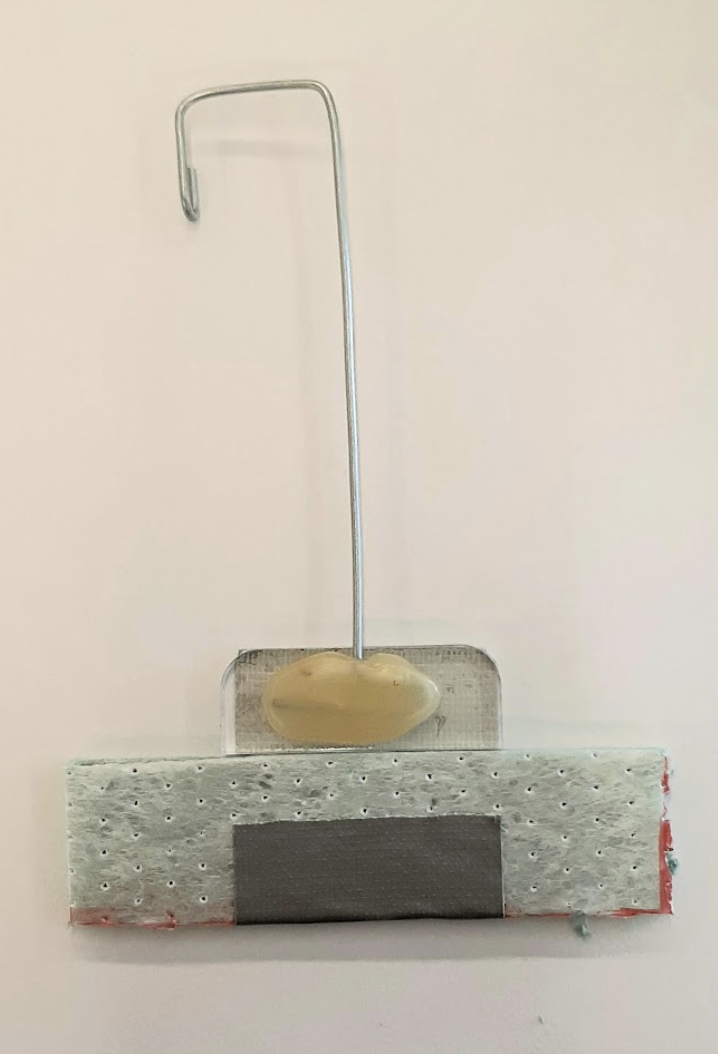
Finally, cut out a right-trapezoid piece of foam with angle between 45 - 90 degrees. This will act as an angle limiter to ensure the paddle does not fold and float in the water. Glue it to the back of the acrylic piece as shown here. The image on the right is of the final paddle.
Hull
The Hull is cut out of 1" thick insulation foam covering an area of 1.5'x0.5' with a curved bow. The foam pieces were cut using a hot wire rod cutter and a wooden jig to ensure all the hulls were equal in shape. The hulls were cut out prior to the activity to save time.
Assembly
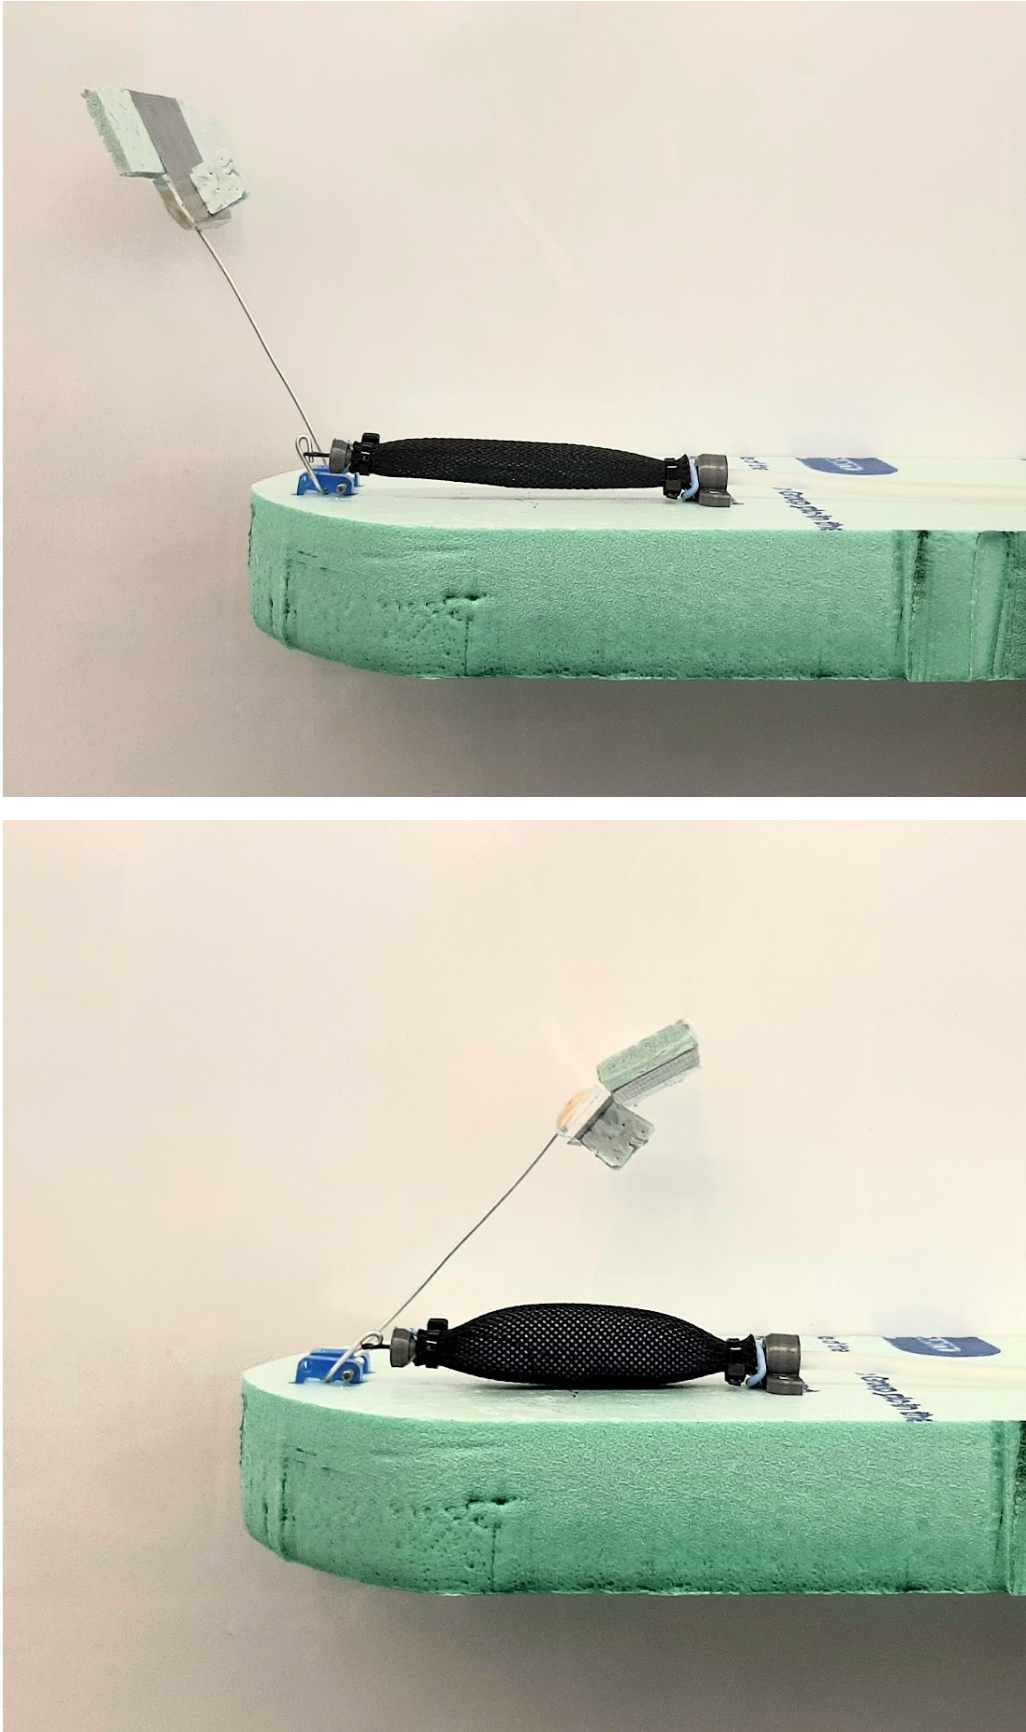
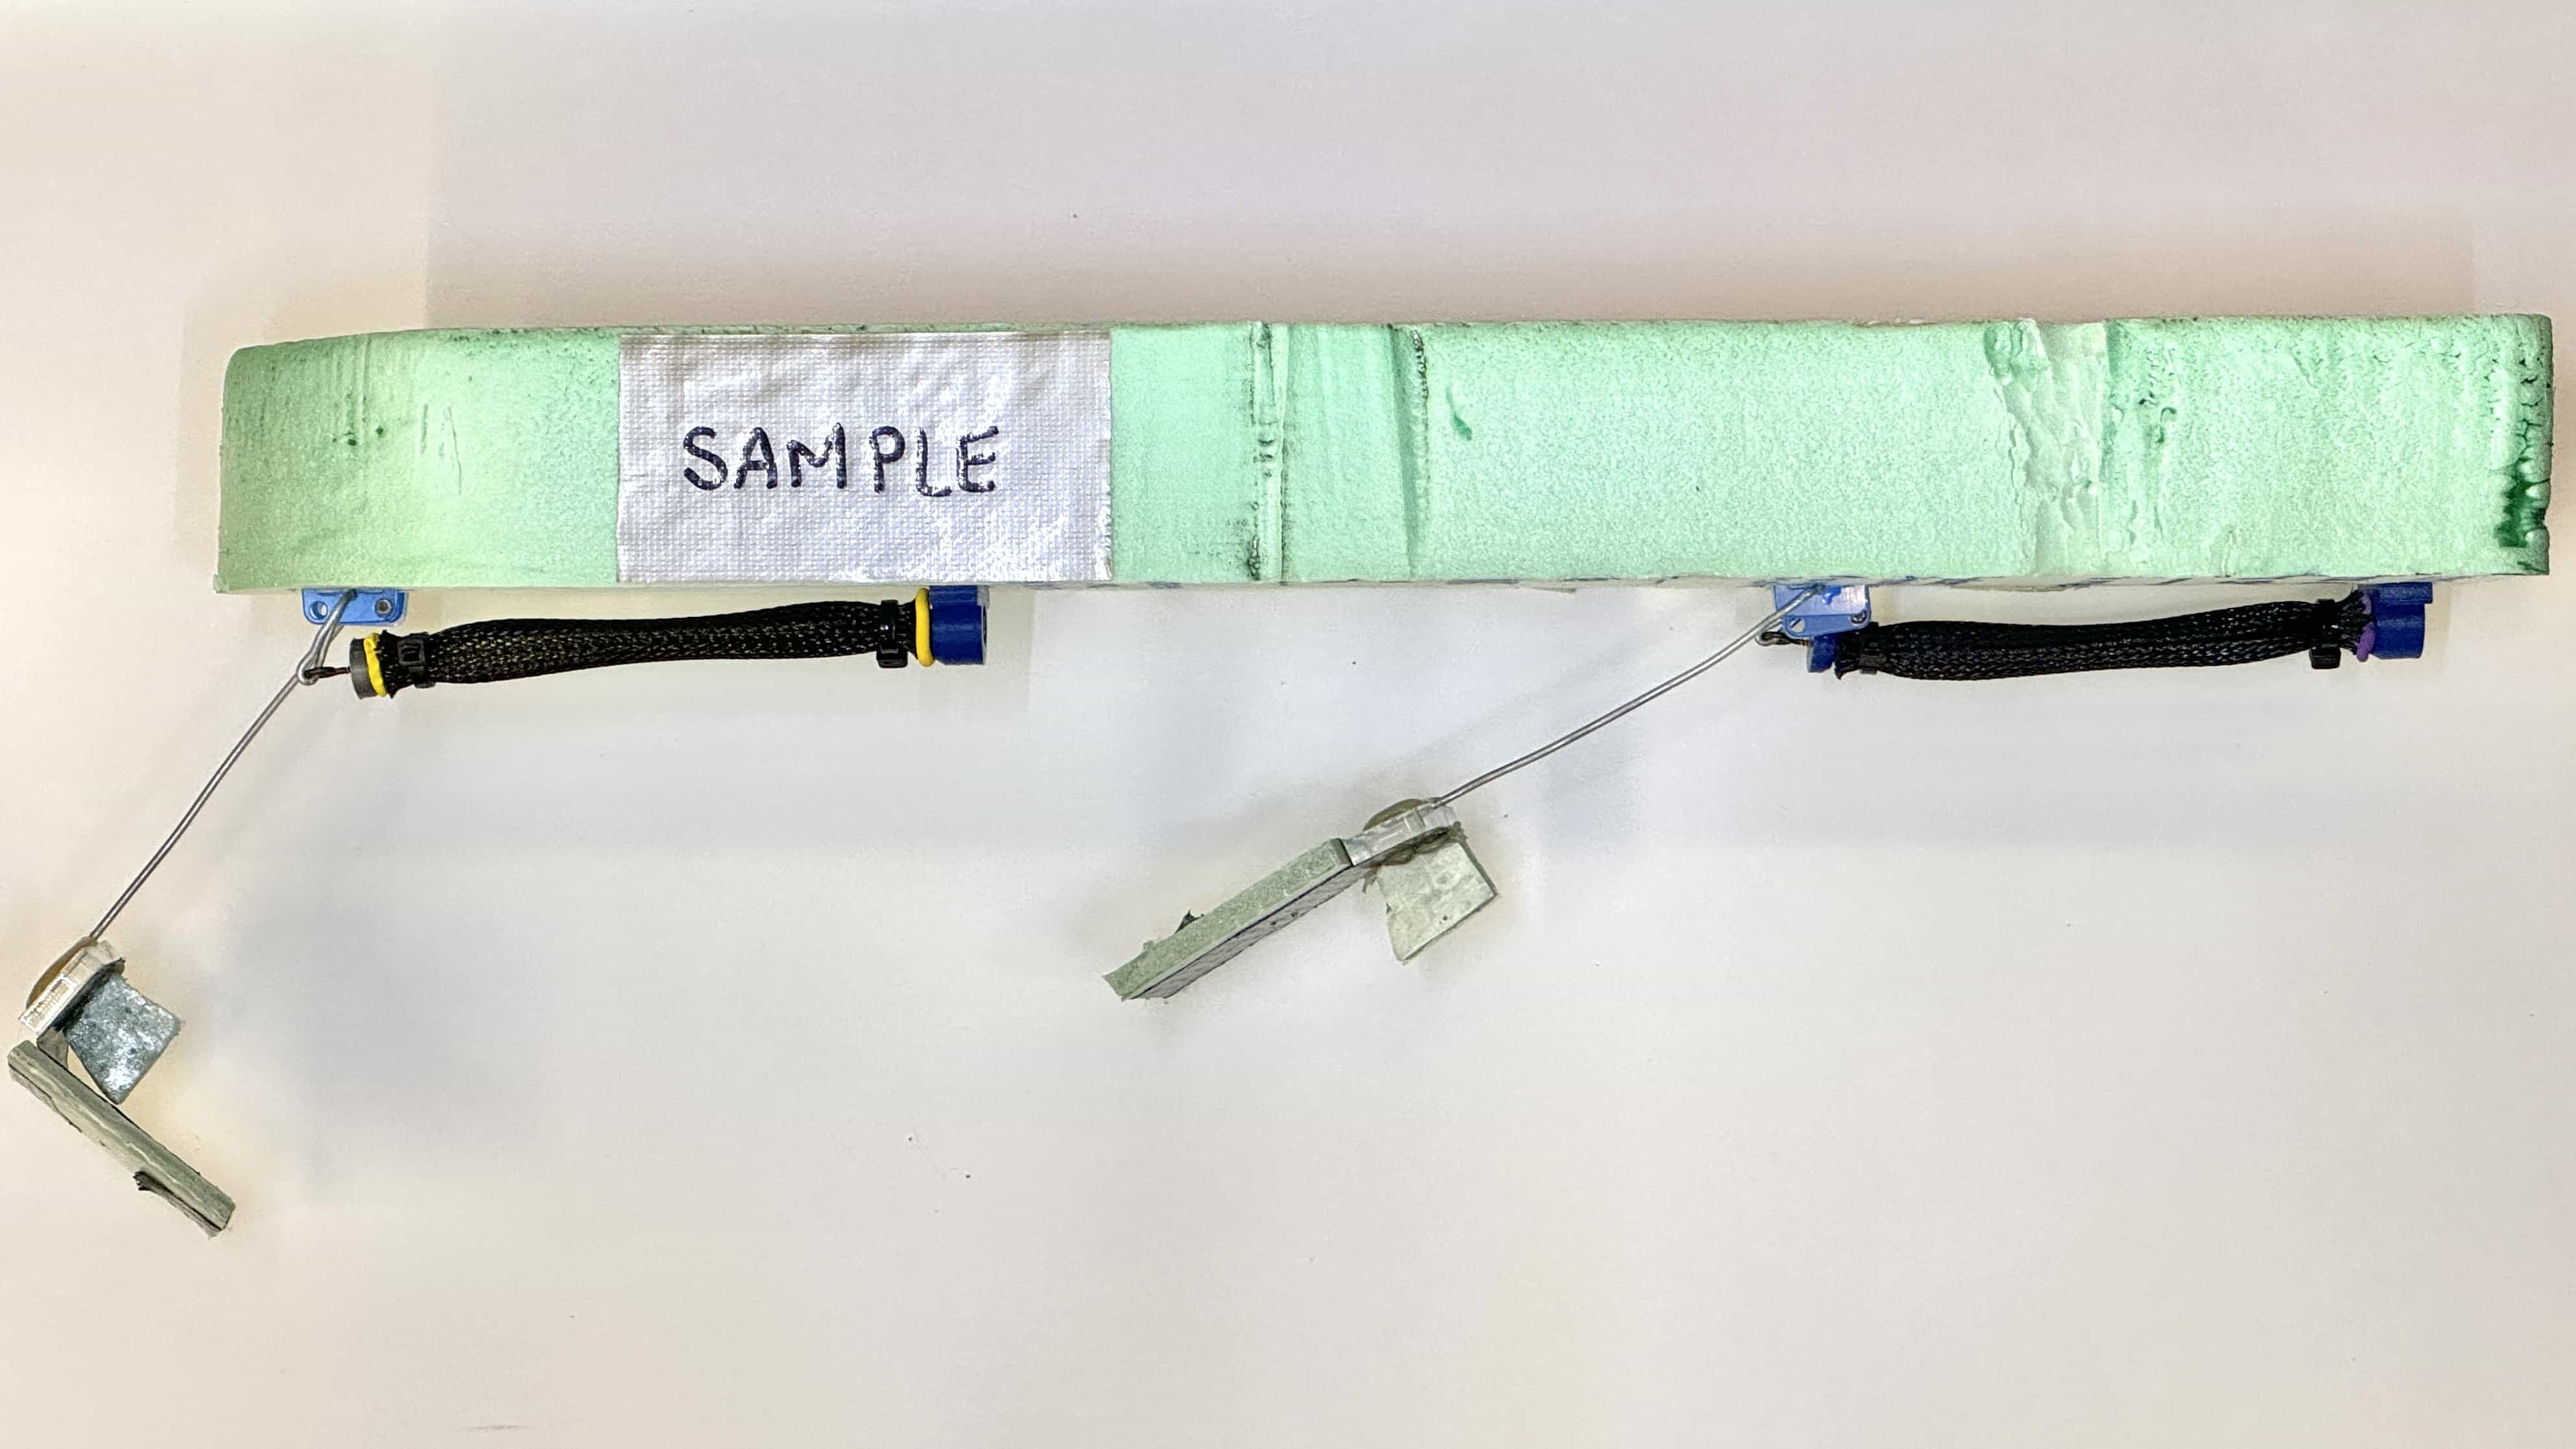
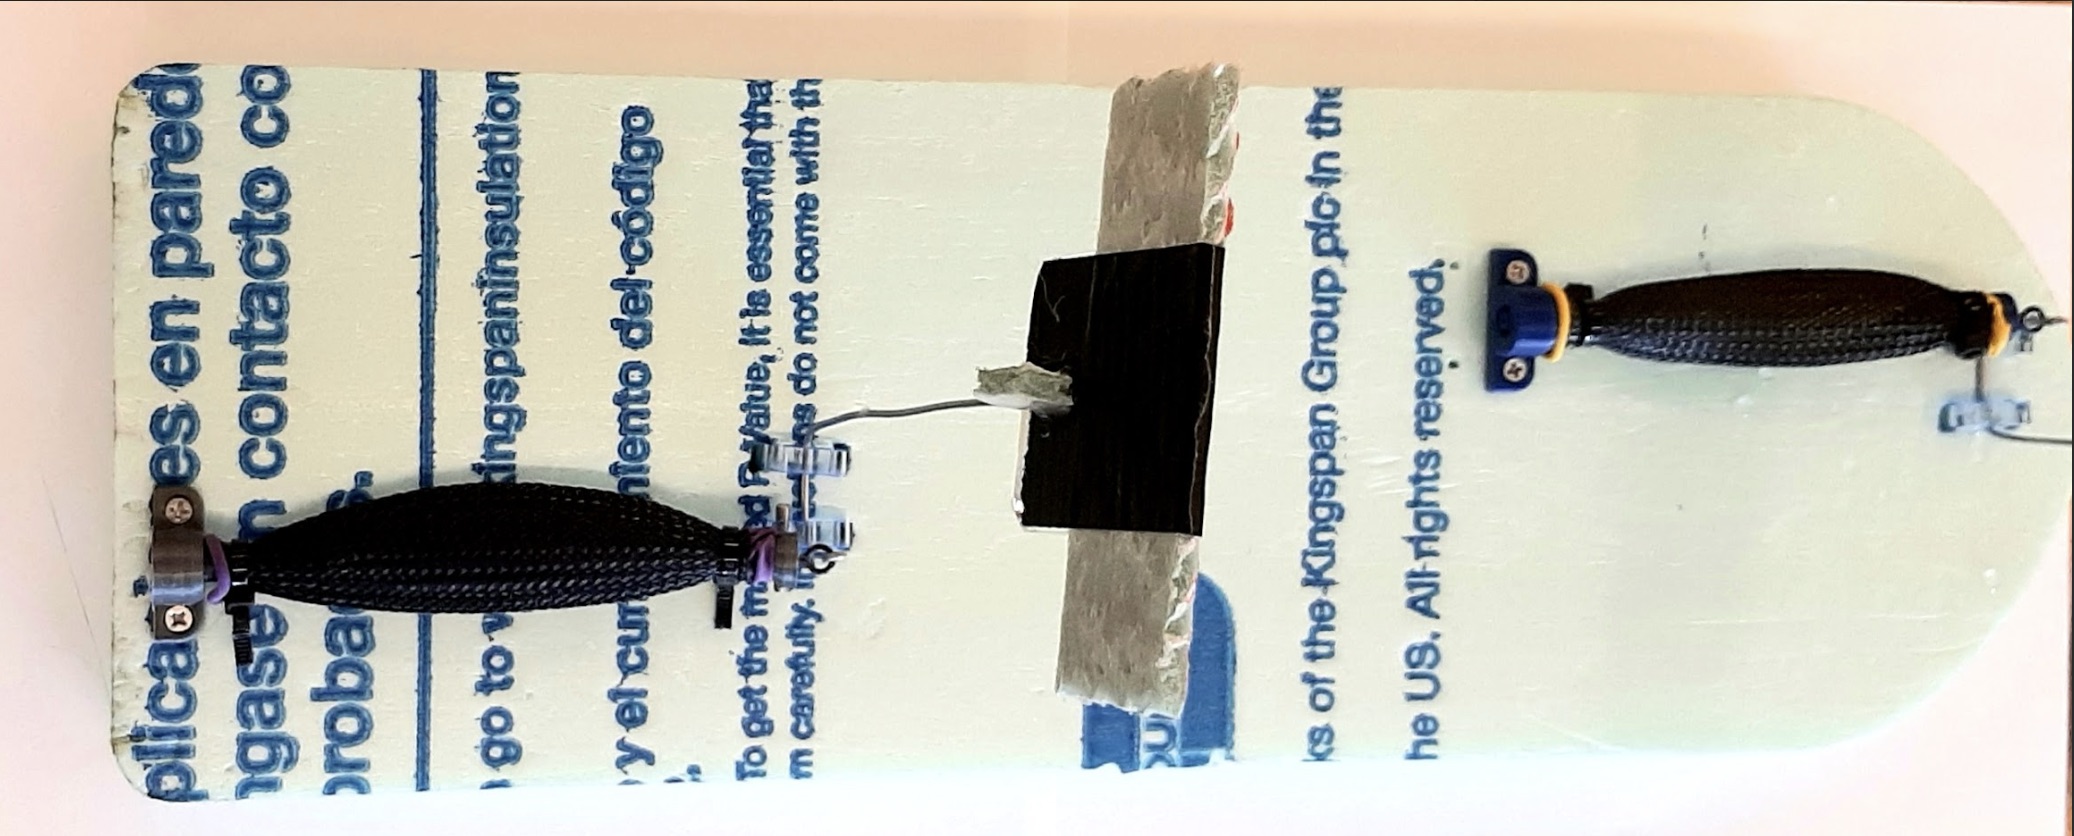
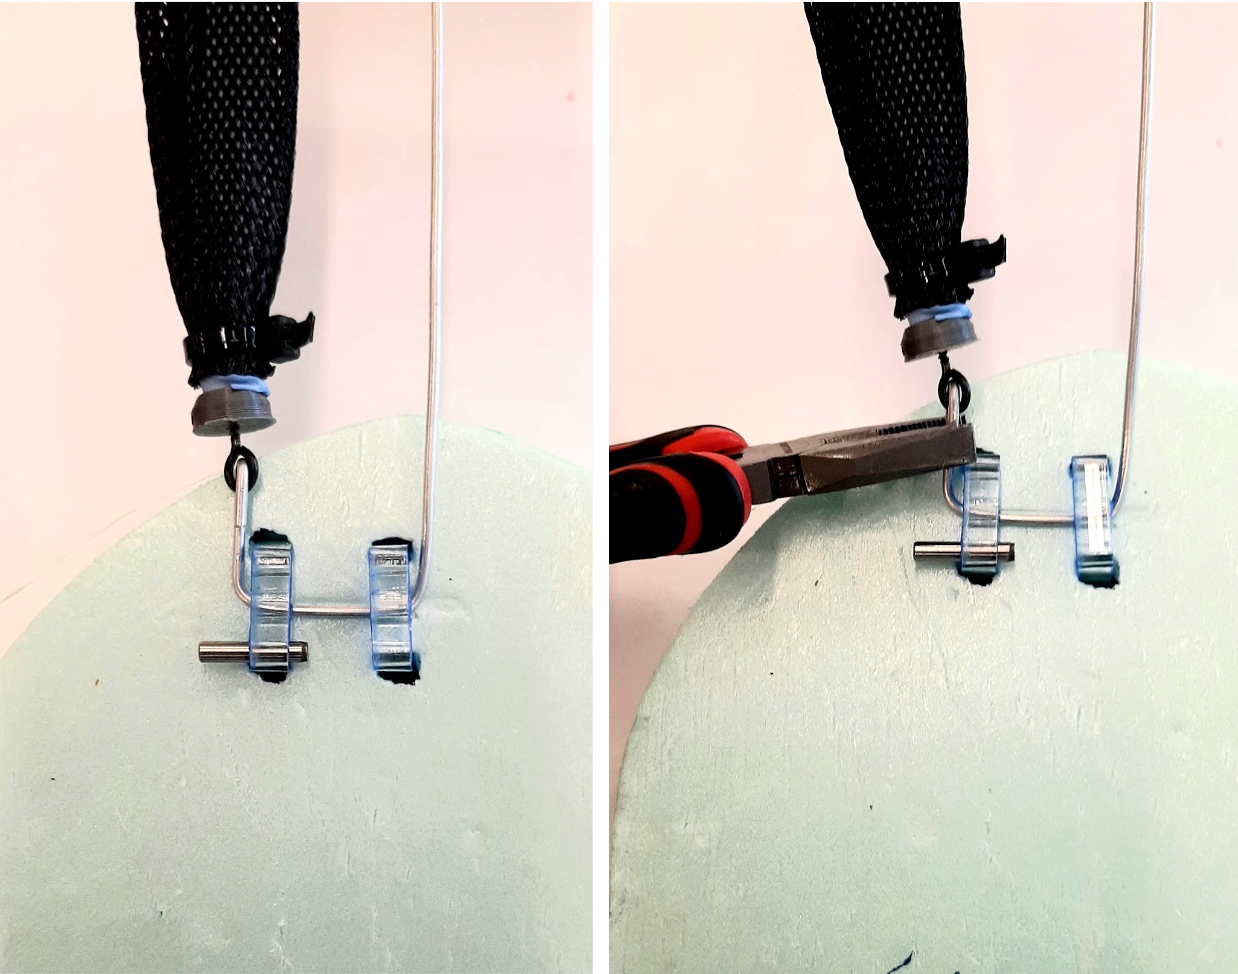
The McKibben muscles and paddles were built simultaneously during the activity. The paddles are secured firmly with acrylic cut barbed U-hooks as can be seen in the first two images on the left. The U-hooks are specifically designed to prevent detachement. Additionally, the U-hooks have a hole to hold a dowel pin that acts as an angle limiter. The muscle and paddle and secured to one another using pliers to clamp the wire. Looking at the last two images on the right, thile the paddle is in its forward position (leaning towards the front of the boat), the muscle can then be screwed into place.
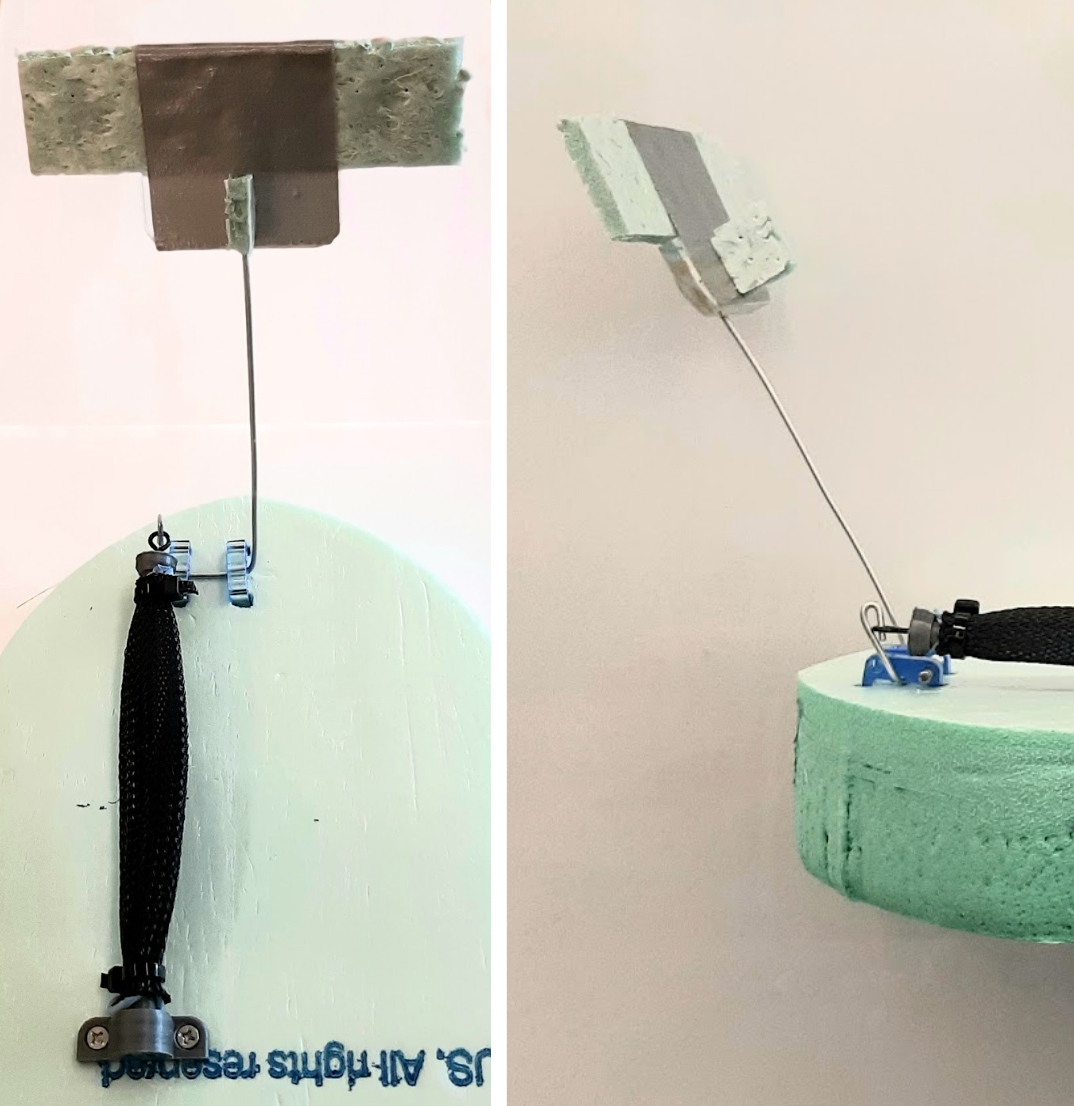
In order to test how the paddle rotates, insert the tubing and pump the syringe. The paddle should rotate as seen below. The position of the muscle can be shift forward or backward to change the angle of rotation. Finally, the steps can be repeated for the second paddle.